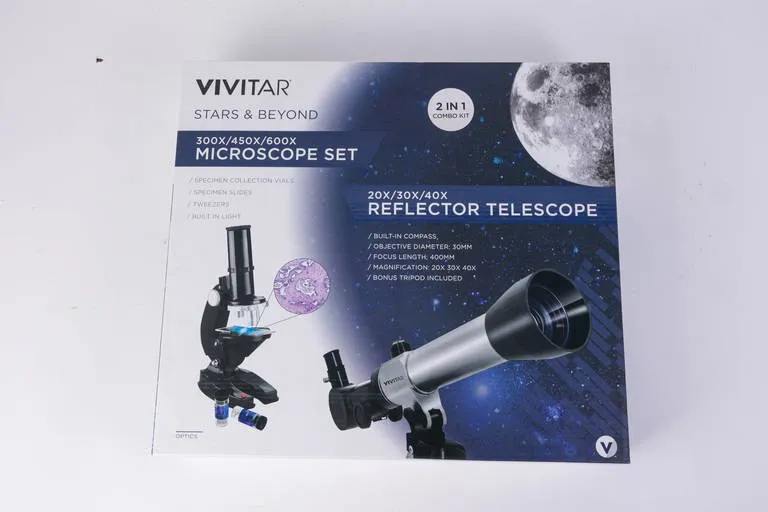
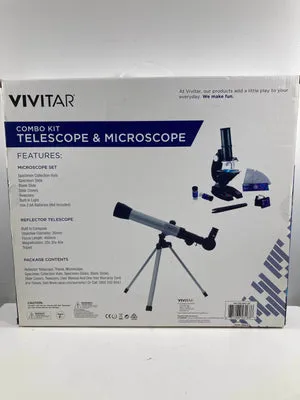
What is the Vivitar Diecast Microscope Kit?
The Vivitar Diecast Microscope Kit is an engaging educational tool designed to introduce young scientists to the fascinating world of microscopy. This kit offers a hands on experience allowing children to explore the microscopic world around them. The diecast construction of the microscope provides durability, ensuring it can withstand the rigors of enthusiastic young users. It is designed to be user-friendly, making it accessible for children to learn about cells, organisms, and other minute structures. The Vivitar kit typically includes various components needed for observation, such as objective lenses, eyepieces, and a stage to hold the slides. Its educational value makes it a great tool for sparking interest in science.
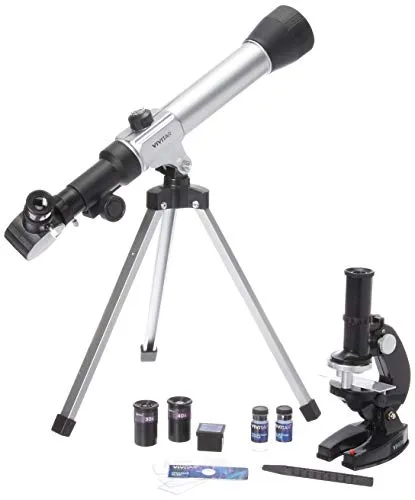
Components of the Kit
Microscope Body

The microscope body, often made from diecast metal in the Vivitar kit, provides the structural support for all other components. Its robust construction ensures that the microscope remains stable during use, preventing accidental movement and ensuring clear observation. The body typically includes the arm, which is used to carry and maneuver the microscope, and the base, which provides a stable platform. The diecast material adds a premium feel and enhances the kit’s longevity. The body is designed to securely hold the optical components, such as lenses and eyepieces, aligning them correctly for optimal viewing.
Eyepieces
Eyepieces are lenses that magnify the image created by the objective lenses, allowing users to see the magnified specimen. The Vivitar kit usually includes one or two eyepieces with different magnification powers, such as 10x or 16x. These eyepieces are inserted into the top of the microscope and are positioned directly above the objective lenses. They are crucial for providing the final magnification, making tiny details visible. The quality of the eyepieces significantly impacts the clarity and resolution of the image, and Vivitar kits are known for providing clear and crisp viewing experiences, enhancing the learning experience.
Objective Lenses
Objective lenses are the primary lenses that magnify the specimen placed on the microscope stage. The Vivitar kit typically comes with several objective lenses, each providing a different level of magnification, such as 4x, 10x, and 40x. These lenses are mounted on a revolving nosepiece, allowing users to easily switch between different magnifications. The objective lenses are responsible for the initial magnification of the specimen, creating a magnified image that the eyepiece then magnifies further. The quality of the objective lenses is paramount for image clarity and detail. Their arrangement in the revolving nosepiece makes it easy to adjust the magnification power.
Stage and Focusing Mechanism

The stage is the platform where the microscope slide containing the specimen is placed. The Vivitar kit includes a stage, usually with clips to hold the slide securely in place. The focusing mechanism, comprising coarse and fine adjustment knobs, allows users to move the stage up and down to bring the specimen into sharp focus. The coarse adjustment provides larger movements for initial focusing, while the fine adjustment allows for precise adjustments to achieve the clearest image. This mechanism is crucial for bringing different parts of the specimen into focus at various magnifications, enhancing the overall viewing experience and making it easier to explore the microscopic world.
Light Source
The light source illuminates the specimen, making it visible under the microscope. The Vivitar Diecast Microscope Kit typically uses an LED light source, which is energy-efficient and provides bright, even illumination. The light is directed through the specimen from below, allowing users to see the details and structures. A good light source is essential for viewing transparent specimens, such as cells or thin slices of materials. The LED light ensures that the specimen is well lit, enhancing clarity and detail. Some kits may include a mirror for reflecting ambient light, but modern kits often feature built-in LED lights.
5 Fun Facts About the Vivitar Microscope Kit
Fact 1 Discovery and Exploration

The Vivitar microscope kit opens up a world of discovery, allowing users to explore microscopic structures that are invisible to the naked eye. Young scientists can examine cells, bacteria, and tiny organisms, unlocking the secrets of the biological world. This exploration fosters curiosity and a love for science, encouraging further investigation. It is a hands-on learning experience that sparks the imagination and encourages users to ask questions, promoting critical thinking and problem-solving skills. Using the kit is a journey of discovery, transforming ordinary items into extraordinary learning opportunities.
Fact 2 Educational Value
The Vivitar microscope kit provides a valuable educational tool for learning about biology, chemistry, and other scientific fields. It offers a practical approach to understanding complex concepts, making learning more engaging and memorable. Children can learn to identify different types of cells, understand the structures of organisms, and explore the principles of microscopy. This kit supports the development of scientific skills, such as observation, analysis, and experimentation. It also provides a foundation for future studies in science and encourages a lifelong love of learning. The hands-on approach enhances learning, making it easier for children to grasp complex scientific ideas.
Fact 3 Hands On Learning
One of the most significant benefits of the Vivitar kit is its promotion of hands-on learning. Users actively participate in the learning process by preparing slides, adjusting focus, and observing specimens. This active engagement leads to a deeper understanding of scientific concepts. By manipulating the microscope and observing the results, children develop practical skills and a sense of discovery. This method is highly effective in making learning fun and interactive. The kit turns theoretical knowledge into tangible experiences, making science more accessible and interesting. Hands-on learning also helps to develop problem-solving skills as users experiment and troubleshoot.
Fact 4 Durable Diecast Design
The diecast construction of the Vivitar microscope ensures its durability and longevity, making it suitable for use by children. The robust metal frame can withstand the wear and tear of regular use, making the kit a lasting investment in education. This robust design protects the delicate optical components from damage. The diecast material provides a stable platform for observation, ensuring clear and steady images. This durability gives parents confidence in the kit’s ability to withstand enthusiastic use by children. The kit’s longevity means it can be used for years.
Fact 5 Magnification Power
The Vivitar microscope kit offers various magnification levels, allowing users to observe specimens in detail. With magnification capabilities ranging from low to high power, users can explore a wide range of microscopic structures. The different magnification levels allow children to see the same specimen at various levels of detail, enhancing their understanding. These features enable users to observe cells, bacteria, and other microscopic organisms. This ability to magnify and explore detailed structures is key to scientific discovery. This kit is a great tool for introducing children to the power of magnification and the wonders of the unseen world.
How to Use the Vivitar Microscope Kit
Setting up Your Microscope

To set up your Vivitar microscope kit, start by placing the microscope on a stable, well-lit surface. Ensure all components are present, including the eyepieces, objective lenses, and stage. Insert the eyepiece into the top of the microscope tube and select the objective lens with the lowest magnification. Place a prepared slide onto the stage and secure it using the stage clips. Adjust the light source, usually an LED, to illuminate the specimen. Using the coarse adjustment knob, slowly raise the stage until the objective lens is close to the slide. Then, looking through the eyepiece, use the fine adjustment knob to bring the specimen into sharp focus.
Preparing Your Slides
Preparing slides is an essential part of using your Vivitar microscope. Gather your materials, including a clean microscope slide, a cover slip, and the specimen you wish to view. If the specimen is a liquid, such as pond water, place a small drop on the slide. For solid samples, like leaves or fibers, prepare thin sections using a sharp blade. Carefully place the cover slip over the specimen, avoiding air bubbles. For best results, clean the slide and cover slip before use. Now, you can place your prepared slide on the microscope stage and begin viewing your sample.
Viewing Samples
Once your slide is prepared and set up, you can begin viewing samples. Start with the lowest magnification objective lens to get an overview of the specimen. Look through the eyepiece and adjust the focus using the coarse and fine adjustment knobs. Once the image is clear, increase the magnification by switching to higher power objective lenses. Be sure to readjust the focus each time you change magnification. Observe the details of the specimen, noting any interesting features. Experiment with different specimens to discover the diversity of the microscopic world, and enjoy the learning process.
Troubleshooting Common Issues
Several common issues can arise when using the Vivitar microscope. If the image appears blurry, ensure the slide is correctly focused using the fine adjustment knob. If the image is dark, check the light source and adjust its brightness. Air bubbles under the cover slip can obstruct the view, so try to avoid them when preparing slides. If you cannot see anything, make sure the objective lens is clicked into place. For any persistent problems, consult the user manual or seek help from an adult or science teacher. By addressing these common issues, you can ensure a clear and enjoyable viewing experience.