The Allure of Diecast Car Restoration
Diecast car restoration is more than just a hobby it’s a journey into the past a chance to revive miniature versions of automotive legends. The appeal is multifaceted: it combines technical skill with historical appreciation and the satisfaction of transforming a damaged or neglected model into a gleaming showpiece. For many collectors, the process is therapeutic, a way to unwind and connect with a tangible craft. The stories behind these tiny vehicles, the memories they evoke, and the potential for financial reward add to the allure, making restoration an engaging and rewarding pursuit. The satisfaction of bringing a piece of automotive history back to life is unmatched.
Why Restore Diecast Cars
Restoring diecast cars offers a unique blend of challenges and rewards. It provides a hands-on experience that differs from simply collecting. Each restoration project becomes a personal endeavor where patience, precision, and attention to detail are key. This process allows collectors to develop a deeper understanding of the vehicles they cherish, learning about their construction, history, and design. It’s also a chance to acquire valuable skills in areas such as painting, detailing, and mechanical repair. Furthermore, the financial aspect can be appealing; well-restored diecast cars often increase in value, making restoration both a hobby and a potential investment.
Benefits of Restoring Diecast Cars

The benefits of restoring diecast cars are numerous. First, it’s an opportunity to preserve history. By restoring these miniature vehicles, you’re helping to keep a part of automotive history alive, allowing future generations to appreciate the designs and innovations of yesteryear. Second, it’s a creative outlet. The process allows you to express your artistic flair through painting, detailing, and customizing your models. Third, it enhances your knowledge. You’ll learn about different car models, their specifications, and the techniques used in their construction. Finally, it offers the satisfaction of bringing something back to life, which is a rewarding feeling in itself. The pride of showcasing a beautifully restored car is a significant reward.
Gathering Your Restoration Arsenal
Before you begin your diecast car restoration, assembling the right tools and supplies is essential. Having the correct equipment will make the process easier, more efficient, and more enjoyable. The initial investment in tools may seem significant, but they will last for many restorations to come. Moreover, having the right tools guarantees a high-quality finish. Think of your workspace; ensure it’s well-lit and ventilated, as many restoration processes involve chemicals. A clean and organized space contributes to a better outcome. The right setup will make your restoration experience a success and help you turn out fantastic results.
Essential Tools for Diecast Restoration
Essential tools include a set of small screwdrivers (Phillips head and flathead), pliers (needle-nose and regular), hobby knives or X-Acto knives, a pin vise with various drill bits, and a small hammer. You will need files of different shapes and grits for smoothing surfaces, sandpaper of varying grits (from coarse to fine), and a good quality airbrush or spray gun for painting. A work vise to hold your model securely while working will be indispensable. Consider a heat gun or hairdryer to help soften adhesives and decals. Furthermore, a magnifying glass with a light can greatly assist with detailing work. Each tool serves a specific purpose, and having them readily available is critical.
Recommended Cleaning Supplies

Cleaning supplies play a critical role in any restoration project. Start with a good quality degreaser or all-purpose cleaner to remove dirt, grease, and old lubricants. Isopropyl alcohol is useful for cleaning surfaces before painting and removing any residue. For removing rust, you can use a commercial rust remover or a mild abrasive cleaner. Cotton swabs, soft cloths, and small brushes will be essential for cleaning hard-to-reach areas. Paint thinner or lacquer thinner is needed for cleaning your airbrush and removing paint. Protective gloves and eye protection are crucial when working with chemicals. Having these supplies on hand will make the cleaning process much easier and effective.
The Restoration Process Step-by-Step
Restoring a diecast car is a process that requires patience and attention to detail, but the results can be incredibly rewarding. The process can be broken down into distinct steps, each of which is crucial to the final outcome. From careful disassembly to painting and reassembly, following these steps will guide you toward a successful restoration. Remember that each car is unique, and some steps might require adjustments based on the model and its condition. By taking your time and paying attention to each detail, you can transform a damaged or worn diecast car into a beautifully restored model.
Disassembly and Assessment
The first step in restoring a diecast car is careful disassembly and assessment. This involves taking the car apart into its individual components so you can evaluate the condition of each part. Begin by removing the wheels, axles, and any other removable parts. Take detailed notes or photos of the car before disassembly so you know how to put it back together. This includes the placement of screws, decals, and any other details. Carefully examine the body for damage, such as dents, scratches, or rust. Assess the condition of the interior, windows, and any other parts that need restoration or replacement.
Careful Disassembly Techniques

Disassembly requires patience and precision. Use the appropriate tools to avoid damaging the car’s components. For example, use the correct size screwdriver to remove screws. If parts are glued together, use a hairdryer or heat gun to gently soften the glue before attempting to separate them. Take your time to prevent breaking any delicate pieces. Label and store each part separately, perhaps in small bags or containers, to make reassembly easier. Keep all screws and small parts in a safe place, such as a magnetic parts tray, so they don’t get lost. Document the disassembly process with photographs to help with reassembly.
Evaluating the Damage
After disassembly, carefully evaluate the damage to each part. This assessment will dictate the extent of the restoration work. Look for areas of rust, which may require rust removal. Examine the body for dents, scratches, and other imperfections that need to be repaired. Inspect the windows and interior components for damage or discoloration. Determine if any parts are missing or need replacement. This evaluation phase is crucial to planning the restoration. If the damage is severe, consider whether the car is worth restoring or if it’s better to use it as a parts donor. This thorough assessment helps you create a realistic restoration plan.
Cleaning the Diecast Body
Cleaning the diecast body is one of the most important steps in the restoration process. Begin by removing any old paint, rust, and grime from the car’s surface. Use a mild degreaser or all-purpose cleaner to remove any dirt or grease. Rinse the body thoroughly with water. Next, remove any rust using a commercial rust remover or a mild abrasive cleaner. Ensure the body is completely dry before moving to the next step. Use cotton swabs and small brushes to clean hard-to-reach areas. This thorough cleaning process creates a clean base for the subsequent steps, improving the final finish.
Removing Old Paint and Rust

Removing old paint and rust is essential to prepare the body for a fresh finish. There are several methods you can use, including chemical paint strippers, abrasive blasting, or gentle sanding. If using a chemical stripper, apply it carefully and follow the manufacturer’s instructions, as these products can be corrosive. For rust removal, you can use a commercial rust remover, a mild abrasive cleaner, or even electrolysis for severe cases. For small areas of rust, you can also use fine-grit sandpaper to gently remove the rust. Protect your eyes and skin when using these methods, and ensure adequate ventilation.
Surface Preparation and Priming
Once the body is clean, the next step is surface preparation and priming. This involves smoothing out any imperfections and creating a surface that will allow the paint to adhere properly. Use fine-grit sandpaper to smooth out any scratches or imperfections. Apply body filler to any dents or larger areas of damage, and then sand it smooth once it has dried. Once the body is smooth, apply a primer coat. The primer provides a base for the paint, helps it adhere, and can also fill in any minor imperfections. Choose a primer that is compatible with the type of paint you plan to use.
Applying Primer for a Smooth Finish
Apply the primer in thin, even coats, allowing each coat to dry before applying the next. This will help prevent runs and ensure a smooth finish. Use an airbrush or spray gun for the best results, as this allows for an even application. After the primer has dried completely, lightly sand the surface with very fine-grit sandpaper to remove any imperfections or dust particles. This step will further refine the surface and prepare it for the topcoat. Be patient during this stage, as a well-prepared surface is essential for a professional-looking finish.
Painting and Detailing Your Diecast

Painting and detailing are where your diecast car truly comes to life. Choose high-quality paints designed for model cars, and select colors that match the original or that you prefer. Apply the paint in thin, even coats, allowing each coat to dry completely before applying the next. An airbrush or spray gun will give you the best results. After the paint has dried, you can begin detailing the car. This may include adding decals, applying pin stripes, and painting small details such as lights, trim, and interior components.
Choosing the Right Paint Colors
Selecting the right paint colors is crucial for an authentic restoration. If you are aiming for an original finish, research the car’s make, model, and year to find the correct paint codes. If you’re customizing the car, choose colors that complement each other and enhance the model’s features. Consider using enamel paints for durability or acrylic paints for ease of use and quick drying times. Experiment with different paint types to find what works best for you. Make sure the paint is compatible with the primer and any clear coats you plan to use. Test your chosen colors on a scrap piece before applying them to the model.
Applying Decals and Markings
Applying decals and markings adds the finishing touches to your restoration. Decals are often fragile, so handle them with care. Cut them carefully from the sheet, and soak them in water until they release from the backing. Use a decal setting solution to help the decals conform to the curves of the model and to prevent air bubbles. Carefully position the decals using a pair of tweezers and a small brush, and gently press them into place. After the decals have dried, you can apply a clear coat to protect them and provide a smooth finish. Use high-quality decals from reputable sources to ensure accuracy and durability.
Reassembly and Finishing Touches

Reassembly is the final step in the restoration process, where you bring all the components back together. Refer to your notes or photos from the disassembly stage to ensure all parts are correctly placed. Carefully reassemble the car, using the correct screws and adhesives. Ensure all parts fit snugly and function correctly. After reassembly, you can add the finishing touches, such as polishing the body, cleaning the windows, and adding any remaining details. Take your time and double-check everything to ensure a perfect finish.
Reassembling Your Restored Car
Reassembling the car is a delicate process. Ensure all the parts are clean and ready to be put back together. Use the correct screws and adhesives. Align the parts carefully to ensure a proper fit. Don’t force any parts together. If something doesn’t fit, recheck your assembly instructions. As you reassemble the model, make sure the wheels turn freely, the doors open and close smoothly, and any other moving parts function correctly. Once everything is back in place, carefully inspect the car to ensure everything is aligned and that the final appearance is satisfactory.
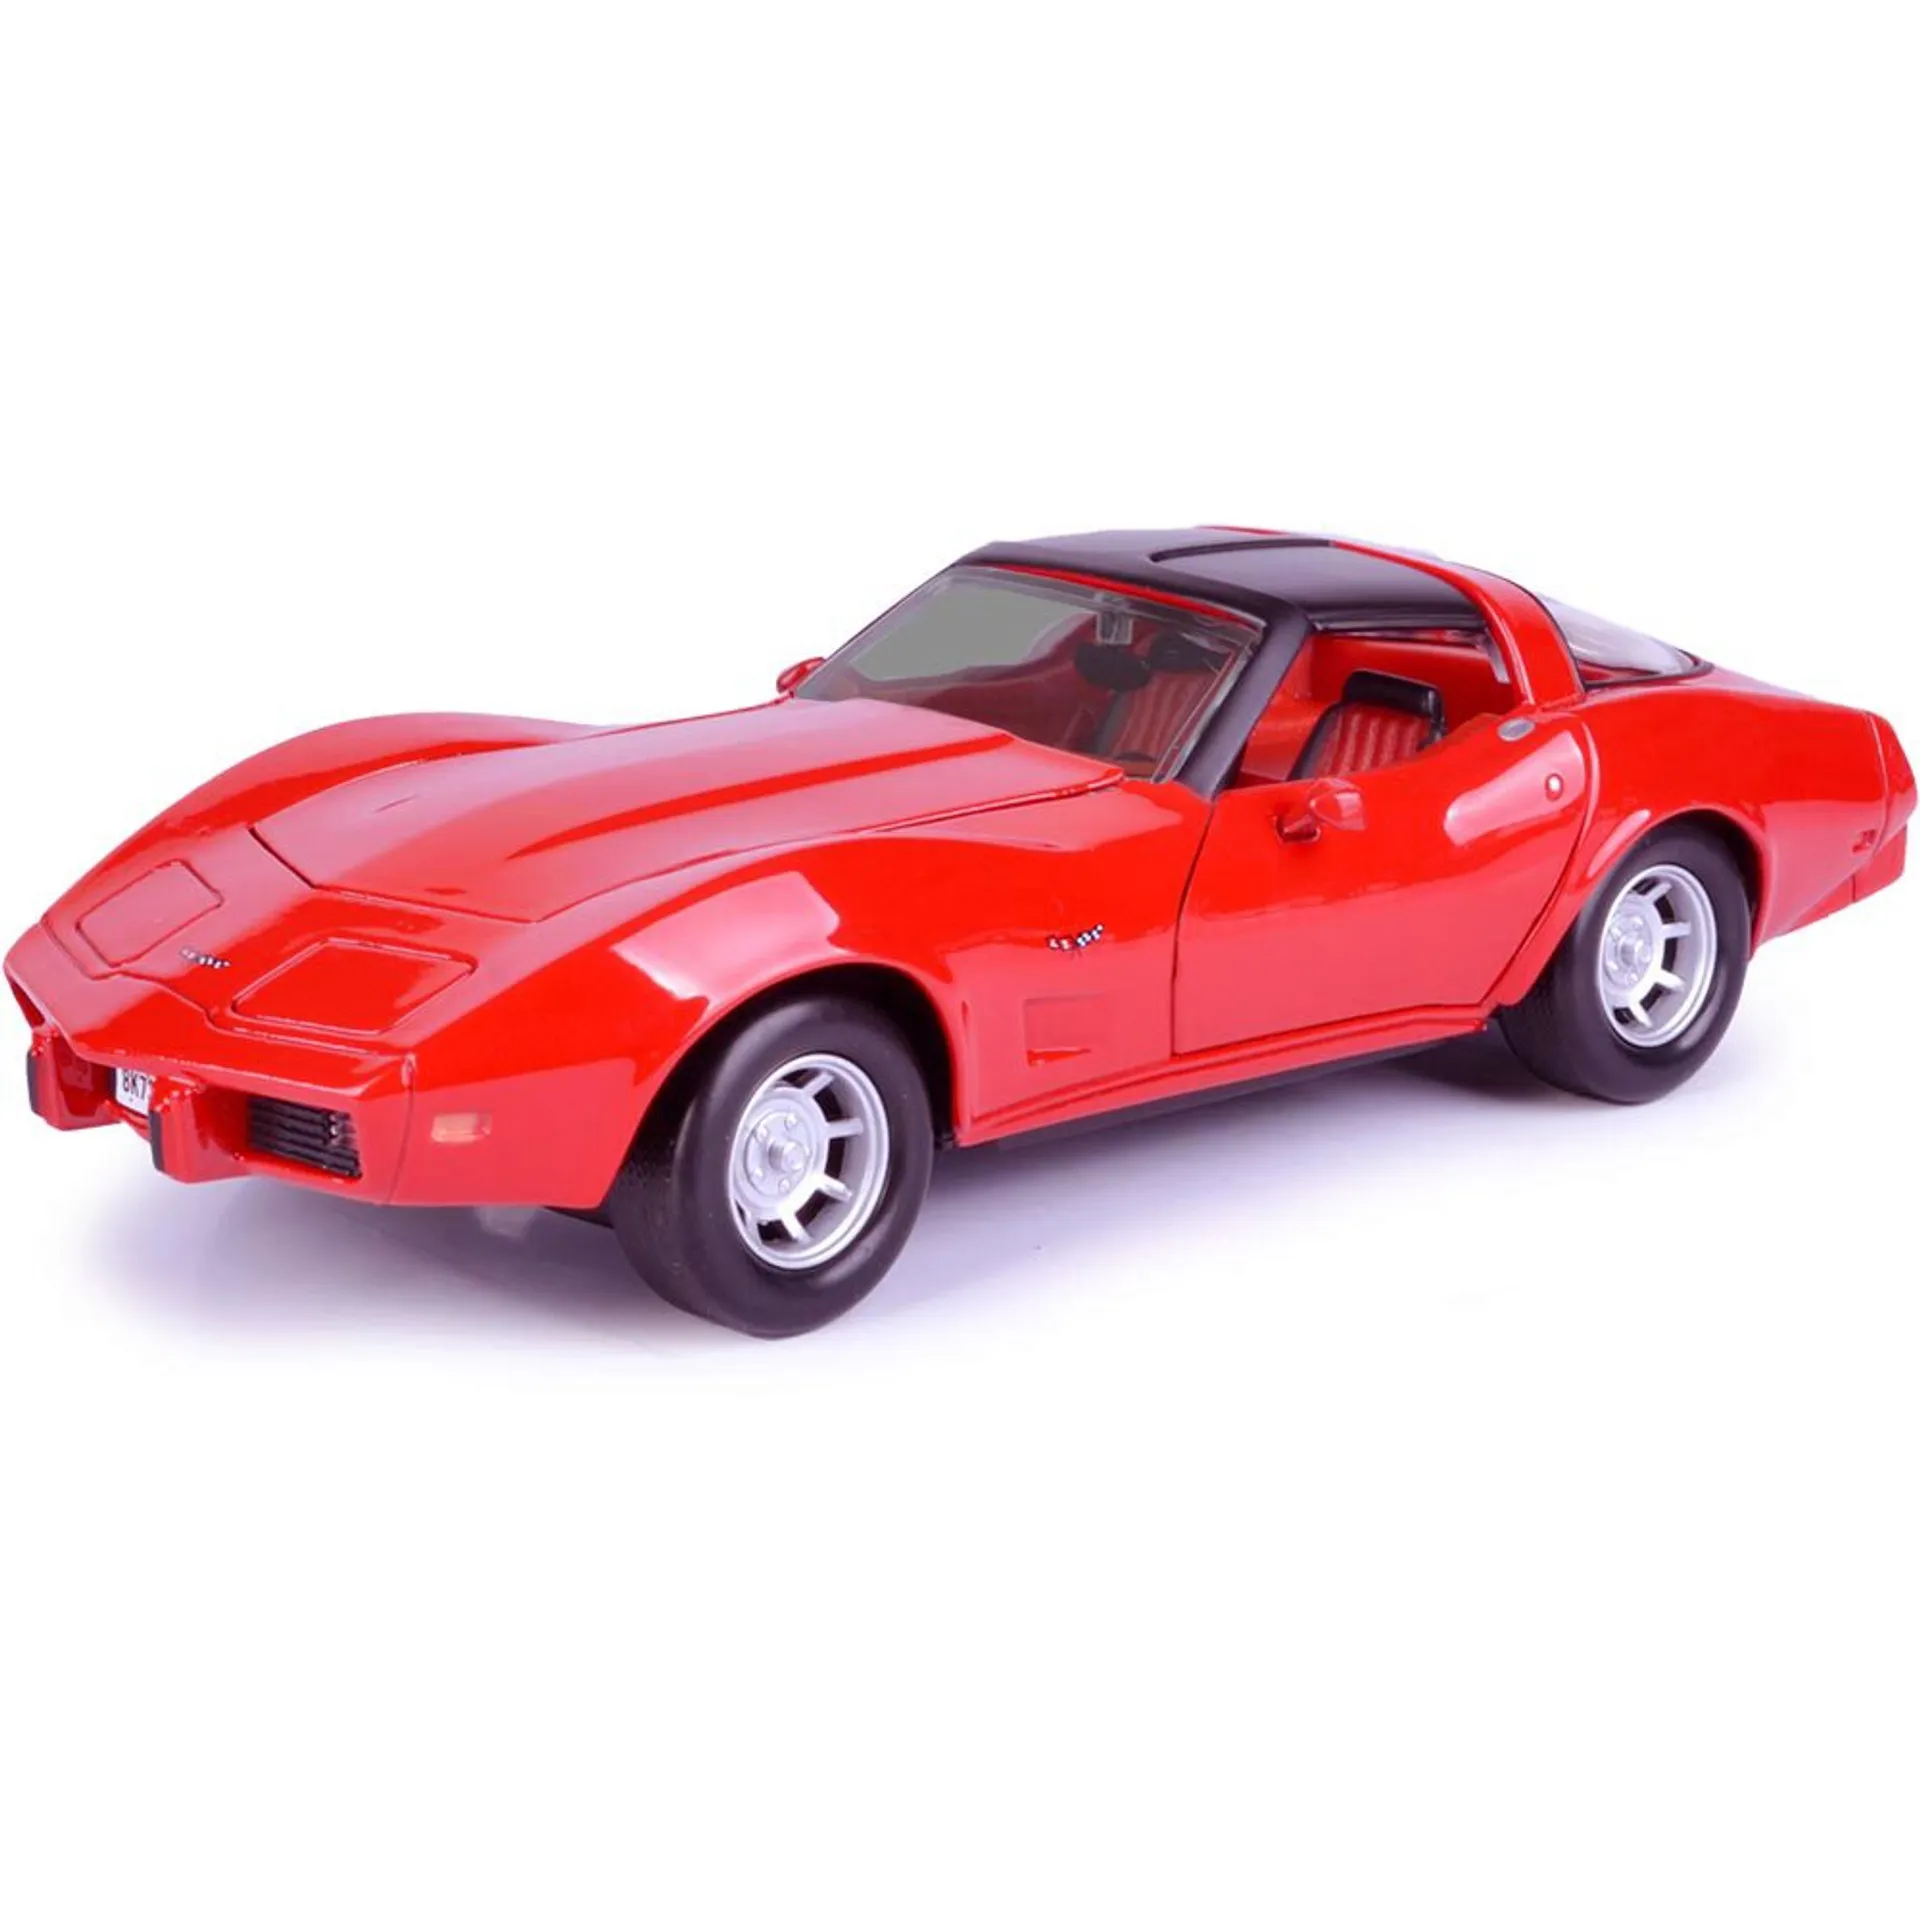
Final Inspection and Display
Once the car is fully reassembled, perform a final inspection. Check for any imperfections, such as paint runs, dust particles, or misaligned parts. Correct any issues before the final display. Clean the windows, and polish the body to bring out its shine. Take pride in your work and showcase your restored diecast car. Consider displaying it in a glass case or on a shelf, away from direct sunlight and dust. Take photos of your finished project to document your work. Finally, appreciate the beauty and history of your restored diecast car, and enjoy the satisfaction of a job well done.
Tips for Success
Successful diecast car restoration requires more than just tools and materials; it also demands a certain approach and mindset. Patience is your most valuable asset. Don’t rush the process, and take your time to ensure each step is done correctly. Research is key; learn about the car you’re restoring, including its original colors, markings, and details. Practice makes perfect. Start with a less valuable model to gain experience before working on a more valuable piece. Embrace challenges; every project presents its own set of issues, so be ready to adapt and learn from your mistakes. Finally, enjoy the process, as diecast car restoration is a hobby meant to be enjoyable.
Common Mistakes to Avoid
Avoiding common mistakes will significantly improve your restoration results. One common mistake is not taking the time to properly clean and prepare the surfaces before painting. Another is rushing the painting process, which can lead to runs, drips, and an uneven finish. Using the wrong type of paint or primer can also ruin your project. Forgetting to take detailed notes or photos during disassembly can make reassembly difficult. Lastly, failing to inspect your work at each stage can result in easily avoidable errors. Pay attention to detail, and don’t be afraid to seek advice or help.
Where to Find Replacement Parts
Finding replacement parts for your diecast car restoration can sometimes be a challenge. Start by searching online marketplaces, such as eBay, for parts from the same model or manufacturer. Check online forums and collector groups, where other enthusiasts may offer parts or advice. Model car shops and hobby stores often carry a selection of parts, and they can sometimes source parts for you. Consider using parts from a donor car, if you can find one. When possible, try to purchase original parts to maintain authenticity. Remember to measure the dimensions carefully to ensure the replacement parts will fit.
Maintaining Your Restored Collection
Once your diecast cars are restored, you want to keep them looking their best for years to come. Protect your collection from dust, sunlight, and extreme temperatures. Display your cars in a glass case or on a shelf, away from direct sunlight, which can cause the paint to fade or degrade. Clean your models regularly with a soft cloth to remove dust and debris. Avoid using harsh chemicals or abrasive cleaners, as these can damage the paint. Store your cars in a cool, dry place when not on display. By taking care of your restored collection, you’ll ensure that these miniature masterpieces remain in pristine condition for future enjoyment.