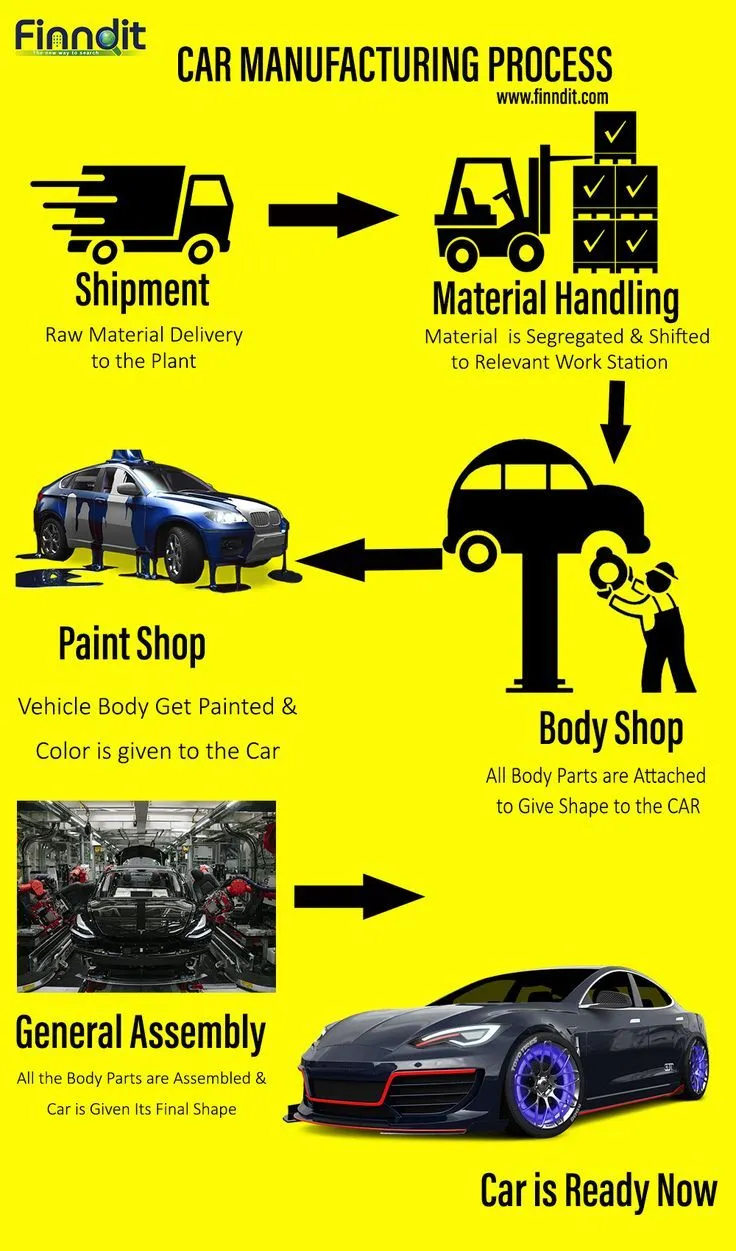
Diecast Car Manufacturing Overview
The diecast car manufacturing process is a fascinating blend of art, engineering, and precision. From initial design concepts to the final product on a collector’s shelf, each step requires meticulous attention to detail. This comprehensive guide will walk you through the complete process, explaining each stage and highlighting the techniques used to transform raw materials into highly detailed miniature vehicles. Understanding this process offers a deeper appreciation for the craftsmanship involved in creating these popular collectibles and toys. The process typically involves design, tooling, diecasting, finishing, and assembly, each with its unique challenges and rewards.
Designing the Diecast Car
The journey of a diecast car begins with its design. This stage often involves collaboration between designers, engineers, and marketing teams. Initial concepts are sketched and refined, considering factors like scale, accuracy, and playability. The design must capture the essence of the real-life vehicle while being optimized for the diecasting process. This involves creating detailed blueprints and specifications that will guide the subsequent stages. The design phase also determines the materials used, the number of parts, and the overall complexity of the model. Digital modeling and prototyping are essential to visualizing the final product before manufacturing begins.
CAD Software and 3D Modeling
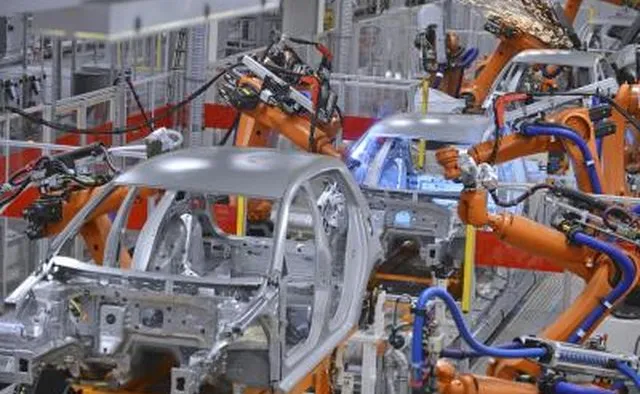
Modern diecast car design heavily relies on Computer-Aided Design (CAD) software and 3D modeling techniques. Designers use these tools to create highly detailed digital models of the car. This allows for precise measurements, realistic renderings, and the ability to simulate the manufacturing process. 3D modeling enables designers to visualize the car from all angles, identify potential issues, and make necessary adjustments before physical prototypes are created. The CAD model serves as the foundation for the tooling creation, ensuring accuracy and consistency in the final product. Advanced software also facilitates the breakdown of the design into individual components, each meticulously planned for assembly.
Tooling Creation for Diecast Cars
Tooling is the backbone of the diecast car manufacturing process. It involves creating the molds and other specialized equipment used to produce the car’s components. This is a complex and expensive process, often taking weeks or even months to complete. The quality of the tooling directly impacts the accuracy, detail, and overall quality of the finished diecast car. Tooling encompasses creating the molds for the body, chassis, interior, and any other parts. This often involves using CNC (Computer Numerical Control) machines to precisely carve intricate details into hardened steel. The tooling phase ensures that each diecast car produced adheres to the design specifications.
Mold Design and Manufacturing
The molds are the heart of diecasting. They are typically made from high-strength steel and designed to withstand extreme temperatures and pressures. The mold design is crucial, as it determines the final shape and features of each car component. Complex molds may consist of multiple parts and utilize intricate mechanisms to eject the finished castings. Creating the mold involves precise machining and finishing to ensure smooth surfaces and accurate dimensions. The molds are designed with gates and runners to allow molten metal to flow into the cavities and vents to release air during the casting process. The mold-making process is a specialized skill, requiring precision and expertise.
The Diecasting Process
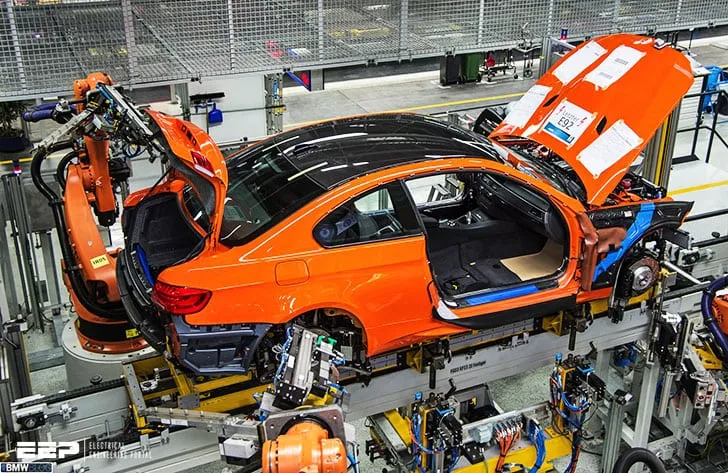
Diecasting is the core of the manufacturing process, where molten metal is injected into the molds under high pressure. This rapid process allows for the production of complex shapes with fine details. The process begins with the selection and preparation of the metal alloy, usually zinc, aluminum, or magnesium. The molten metal is then injected into the mold cavities, where it quickly cools and solidifies. Once the metal has solidified, the mold opens, and the castings are ejected. The entire cycle, from metal injection to ejection, is automated, ensuring efficiency and consistent product quality. Careful control of temperature, pressure, and cooling rates is essential to produce high-quality castings.
Metal Selection and Preparation
The choice of metal alloy significantly impacts the properties of the diecast car. Zinc alloys are often used for their excellent detail reproduction and ease of casting. Aluminum alloys offer a good balance of strength and weight. Magnesium alloys are known for their lightweight properties. The metal is carefully selected based on the desired characteristics of the final product. Before diecasting, the metal is melted and prepared, ensuring it is free of impurities and has the correct chemical composition. The metal’s temperature is precisely controlled to ensure optimal flow and casting quality. This preparation is critical to the structural integrity and aesthetic appeal of the finished product.
Injecting Molten Metal
Molten metal is injected into the mold cavities under high pressure, a process that ensures the metal fills every detail of the mold. This high-pressure injection is what allows for the intricate designs and fine features seen in diecast cars. The injection process is rapid, typically taking only a few seconds. The pressure, temperature, and injection speed are precisely controlled to ensure the metal fills the mold completely without trapping air or causing defects. This precise control is critical for the quality and consistency of the castings. The molten metal solidifies rapidly due to the cooling effect of the mold.
Cooling and Solidification
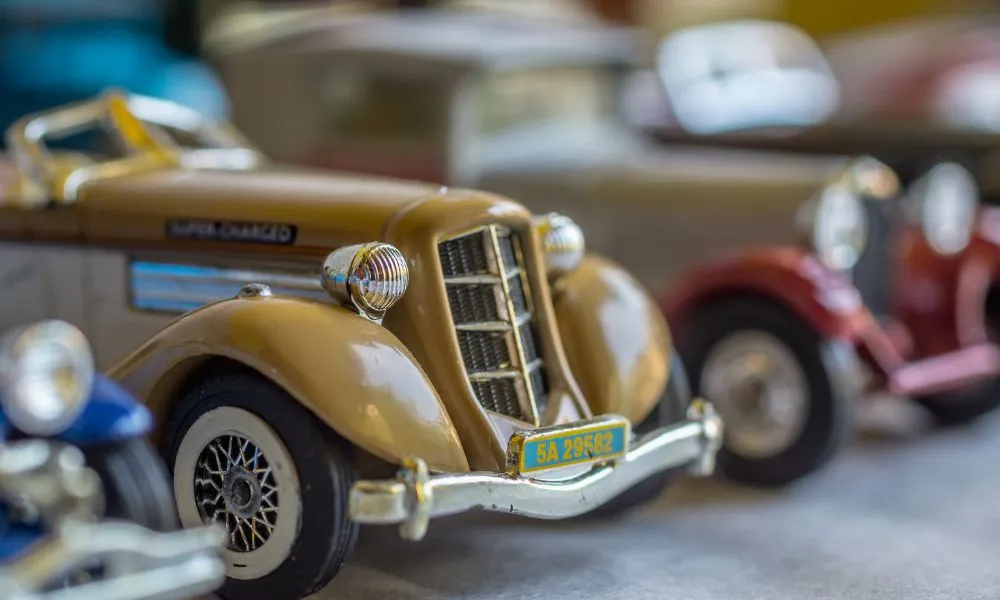
After injection, the molten metal cools and solidifies within the mold. The cooling process is carefully managed to control the metal’s structure and prevent defects. The mold’s design incorporates cooling channels to facilitate even cooling. The cooling rate influences the metal’s grain structure, which impacts its strength and durability. Once the metal has solidified, the mold opens, and the castings are ejected. The cooling time is optimized to balance production speed with the quality of the castings. The cooling process is a critical factor in achieving the desired mechanical properties of the diecast car components.
Trimming and Finishing Diecast Parts
Once the diecast parts are ejected from the mold, they undergo trimming and finishing operations. This involves removing excess material, such as sprues and runners, and preparing the surface for subsequent processes. Trimming removes the extra metal that was used to feed the molten metal into the mold. Finishing processes improve the surface finish, remove imperfections, and prepare the parts for painting or other treatments. This stage ensures the parts meet the required dimensional accuracy and aesthetic standards. Careful attention to detail during trimming and finishing is essential for the overall quality and appearance of the diecast car.
Removing Excess Material
Removing excess material, often referred to as trimming, is a crucial step in preparing the castings. This involves removing the sprues, runners, and any flash (thin excess metal) that may have formed during the diecasting process. Specialized trimming tools and equipment are used to ensure clean and precise cuts. This process can be done manually or through automated machinery, depending on the volume and complexity of the parts. Removing excess material ensures that each component meets its required dimensions and is ready for the next stages of production.
Surface Finishing Techniques
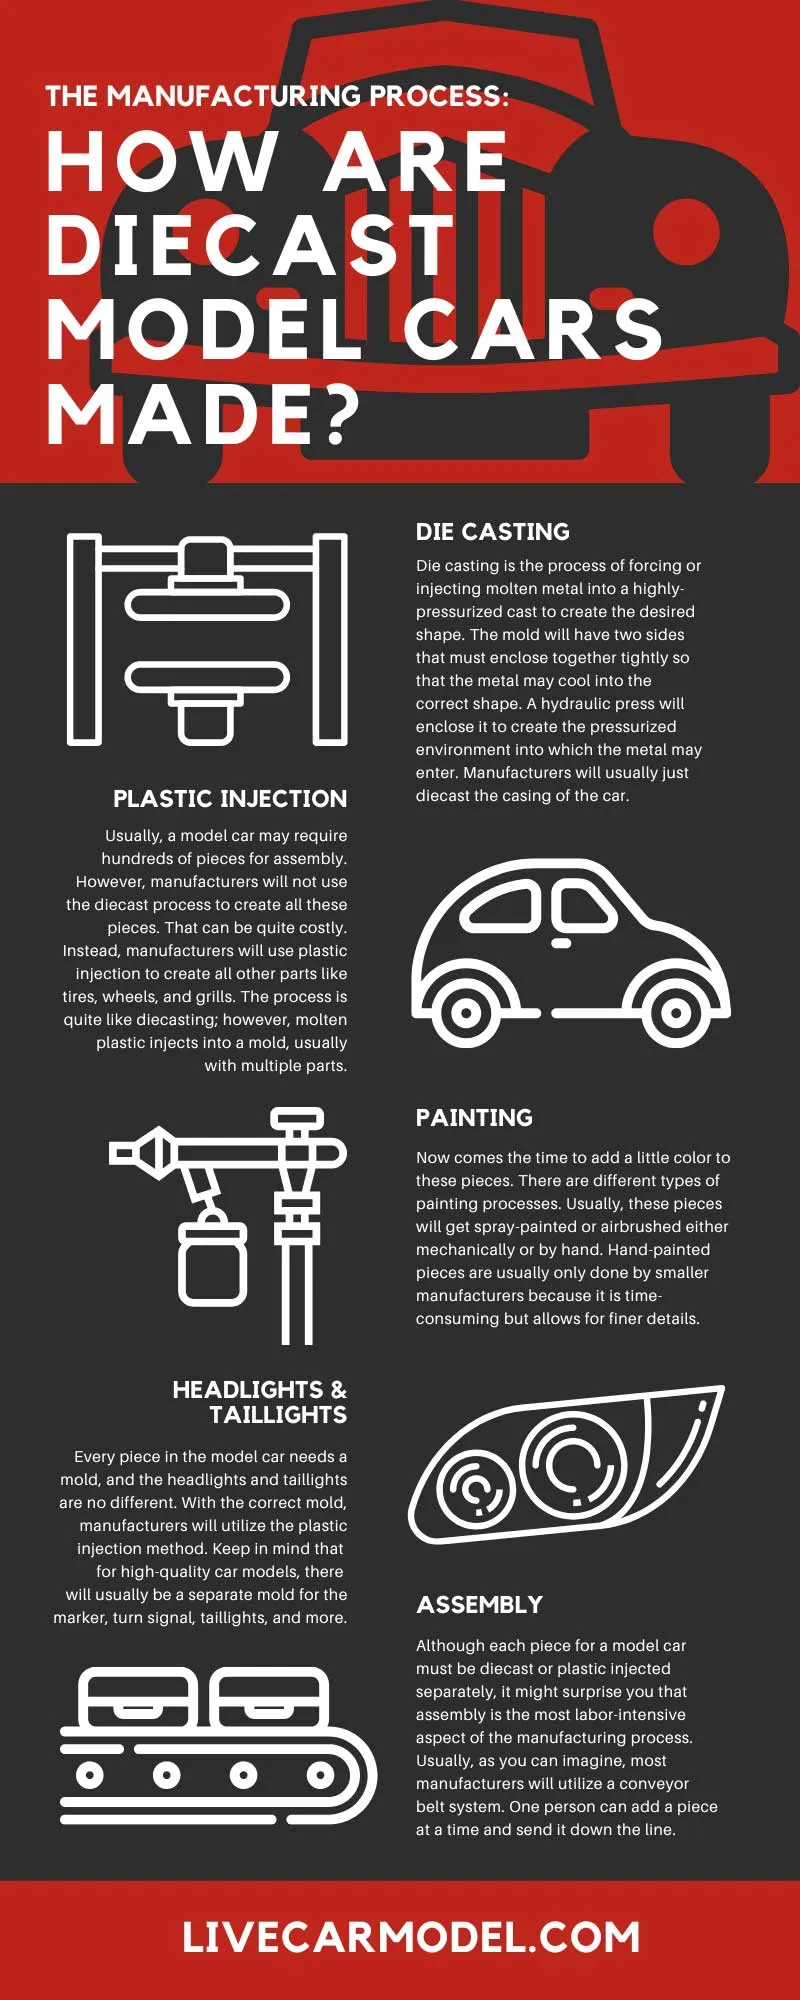
Surface finishing techniques enhance the appearance and durability of the diecast parts. This can include various processes like polishing, grinding, and sandblasting to remove imperfections and create a smooth surface. Surface treatments may be applied to improve corrosion resistance or prepare the surface for painting. The surface finishing process prepares the metal for painting, plating, or other decorative treatments. The goal is to achieve a smooth, uniform surface that enhances the aesthetic appeal and ensures paint adhesion. The chosen technique depends on the desired finish and the specific requirements of the car model.
Assembly of Diecast Car
The assembly stage brings all the individual components together to create the finished diecast car. This involves integrating the body, chassis, interior, wheels, and other details. Skilled workers or automated assembly lines carefully attach each part, ensuring proper fit and function. This step can be a complex process, requiring precision and attention to detail. The assembly process includes attaching axles, fitting windows, adding decals, and securing any other components. Skilled assembly workers bring the car model to life, adding the final touches that make it a desirable collectible.
Component Integration
Component integration involves carefully assembling all the parts of the diecast car. This includes attaching the body to the chassis, fitting the interior, installing the wheels, and adding any other details. Various techniques are used to secure the parts, such as screws, rivets, or adhesives. The assembly process is often carried out on a specialized assembly line, ensuring efficiency and consistency. Accurate alignment and fitting of all components are crucial to the final product’s overall appearance and functionality. This is the stage where the car takes its final shape, ready for quality control.
Quality Control and Inspection
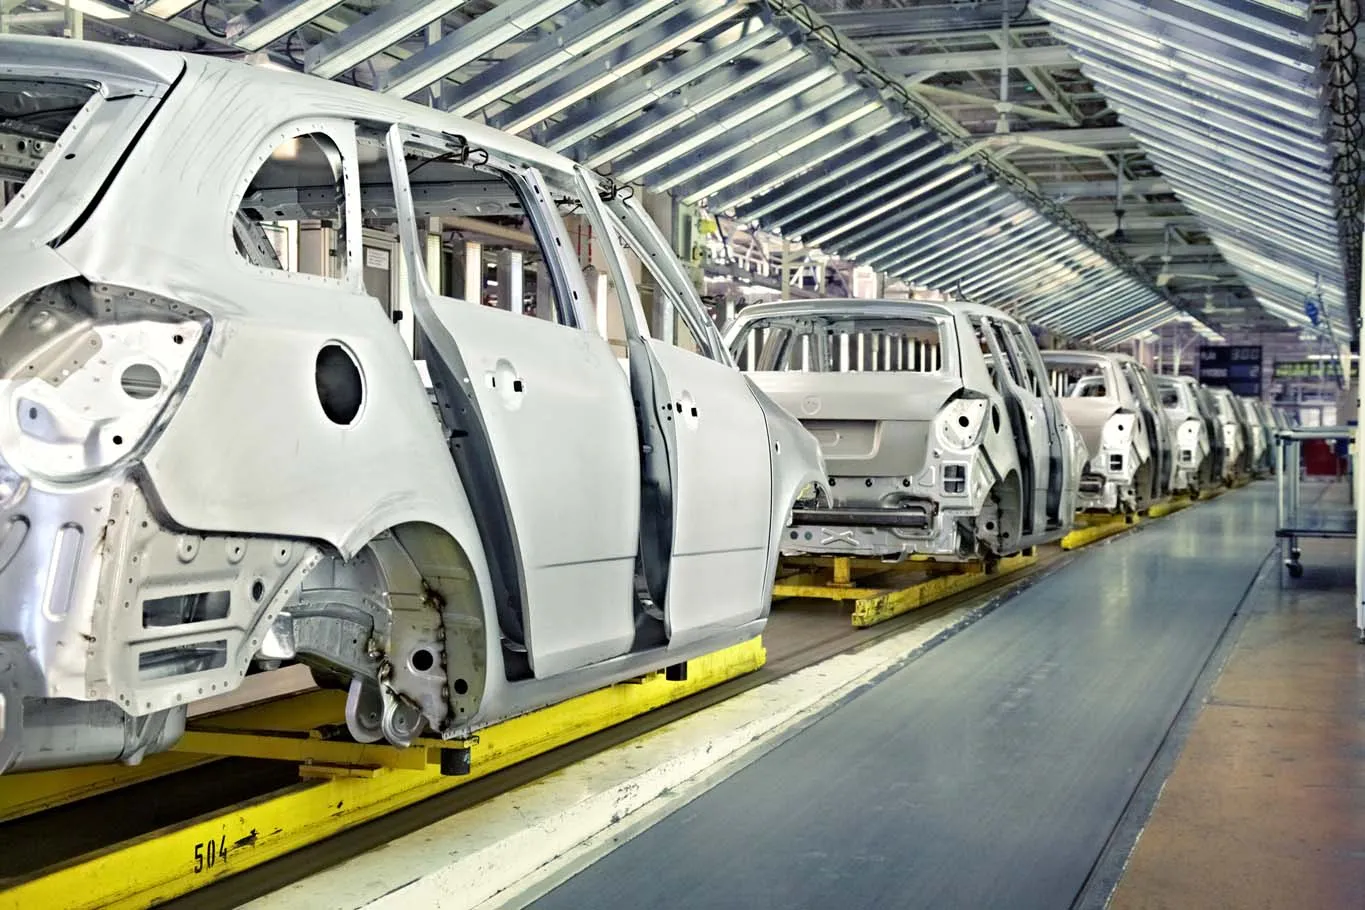
Quality control is an essential part of the manufacturing process, ensuring that each diecast car meets the required standards. This involves a series of inspections and tests throughout the production process. Quality control checks for dimensional accuracy, paint quality, assembly integrity, and overall appearance. Any defects are identified and addressed to maintain the highest standards of quality. Quality control ensures that the finished product meets the expectations of collectors and consumers. Rigorous quality control processes are integral to delivering a high-quality diecast car.
- Dimensional accuracy checks
- Paint quality inspections
- Assembly integrity tests
- Overall appearance assessment
The diecast car manufacturing process is a complex, multi-stage process that combines design, engineering, and craftsmanship. Understanding each step provides insight into the value and quality of these miniature vehicles. From design to assembly, each stage requires precision, skill, and attention to detail. The result is a highly detailed and durable collectible that brings joy to enthusiasts of all ages.
