5 Best Diecast Display Case Plans
Are you a diecast model enthusiast looking for the perfect way to showcase your collection? Building your own diecast display case is a rewarding project that allows you to customize the display to your exact needs and preferences. With a little planning and effort, you can create a stunning display that protects your valuable models and enhances their visual appeal. This guide explores five excellent diecast display case plans, providing you with the information you need to get started, from choosing the right materials to the step-by-step construction process. Whether you’re a seasoned DIYer or a beginner, these plans offer something for everyone. Let’s dive into some fantastic options to display your treasured diecast models.
Considerations Before Building Your Display Case
Before you start building, it’s essential to consider a few key factors that will influence your design choices. Thinking about these aspects beforehand will help ensure your display case is functional, aesthetically pleasing, and perfectly suited to your collection and space. Proper planning minimizes rework and maximizes the enjoyment of your finished display case. This includes assessing your available space, selecting appropriate materials, and gathering the right tools. Taking the time to plan will make your project more efficient and enjoyable.
Space and Dimensions
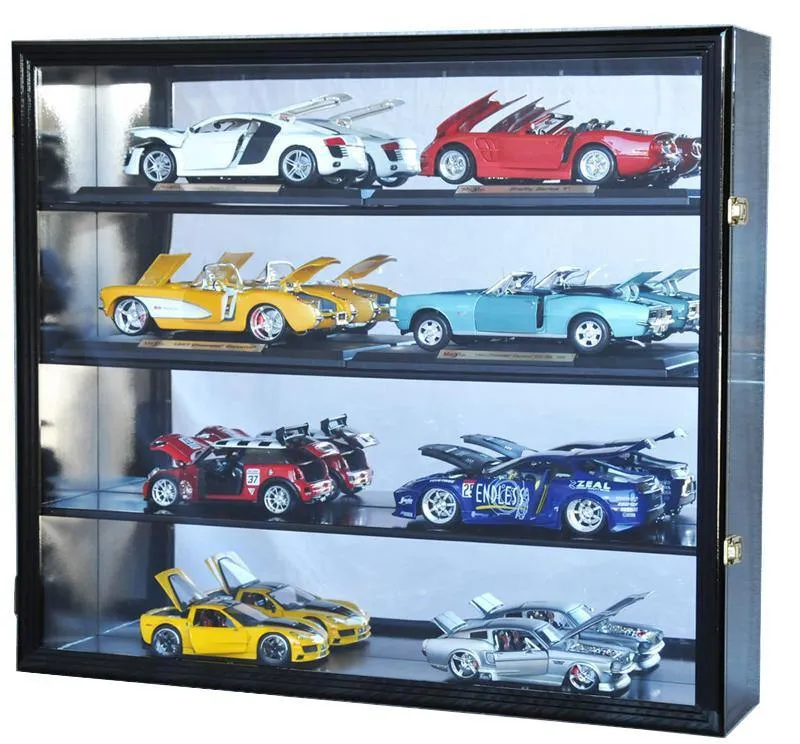
The first step is determining where you’ll place your display case and measuring the available space. Consider the dimensions of your diecast models and the desired spacing between them. Measure the height, width, and depth of the area where you plan to put the case. Decide if you prefer a wall-mounted, tabletop, or floor-standing design. Consider how much room you’ll need for future additions to your collection. Ensure there is enough room for viewing and accessibility. Accurate measurements are crucial for a well-fitting and visually appealing display.
Material Selection
The materials you choose will impact the case’s durability, appearance, and cost. Common options include wood (pine, oak, or MDF), acrylic, and glass. Wood offers a classic look and can be easily customized with paint or stain. Acrylic provides excellent clarity and is lightweight. Glass offers a premium look but can be more fragile and expensive. Consider the weight of your models when selecting the shelving material. Choose materials that complement your decor and match the style of your models. For example, a modern collection might look best in a case with acrylic shelves, while a classic collection might benefit from a wooden display case. The image below shows some good materials for this project.
Tools and Equipment
Gathering the necessary tools is essential before you begin construction. The tools you’ll need will depend on the complexity of your design and the materials you choose. Some essential tools include a saw (circular saw, hand saw, or miter saw), a drill, a measuring tape, a level, a screwdriver, and clamps. Safety glasses and a dust mask are also recommended. If you’re working with wood, you might need a sander and wood filler. For acrylic or glass, you’ll need appropriate cutting and adhesive tools. Having the right tools will streamline the building process and help you achieve professional-looking results. The tools and equipment will vary depending on your chosen display case plans.
Diecast Display Case Plans Design 1 Floating Shelves
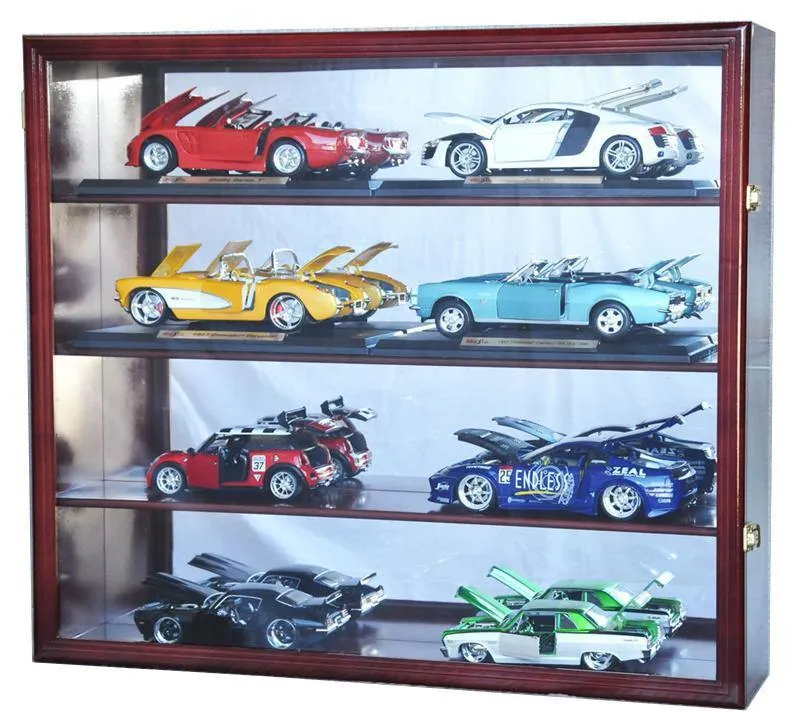
Floating shelves offer a sleek and modern look, making them ideal for minimalist display. These shelves appear to float on the wall, creating a clean and uncluttered aesthetic. This design is relatively simple to build and requires minimal materials, making it an excellent option for beginners. This option can be easily customized to fit any space and number of diecast models. They are visually appealing and can significantly enhance your display. The simplicity of these plans makes them an excellent choice for newcomers to DIY projects, ensuring you can create a sophisticated display effortlessly.
Materials Needed
To build floating shelves, you’ll need wood boards (pine, MDF, or other), shelf brackets (concealed or decorative), screws, a drill, a level, and a measuring tape. Consider the finish of your shelves; paint, stain, or varnish will be required, depending on the look you are trying to achieve. You may also want to include anchors for drywall, depending on your wall type. The choice of wood will influence the appearance and the weight capacity of your shelves. Ensure you choose durable brackets capable of supporting the weight of your models. Clear and accurate measurements are vital for a professional result.
Construction Steps
Begin by measuring and cutting the wood boards to the desired length. Sand the edges and surfaces of the boards to ensure a smooth finish. Install the shelf brackets on the wall, ensuring they are level and properly spaced. Attach the shelves to the brackets using screws. Finish the shelves with paint, stain, or varnish. Ensure the shelves are securely attached to the wall and can support the weight of your models. Allow sufficient drying time before placing your diecast models on the shelves. Proper installation ensures stability and safety, preventing any damage to your valuable models. The image above shows this kind of design.
Diecast Display Case Plans Design 2 Wall-Mounted Display
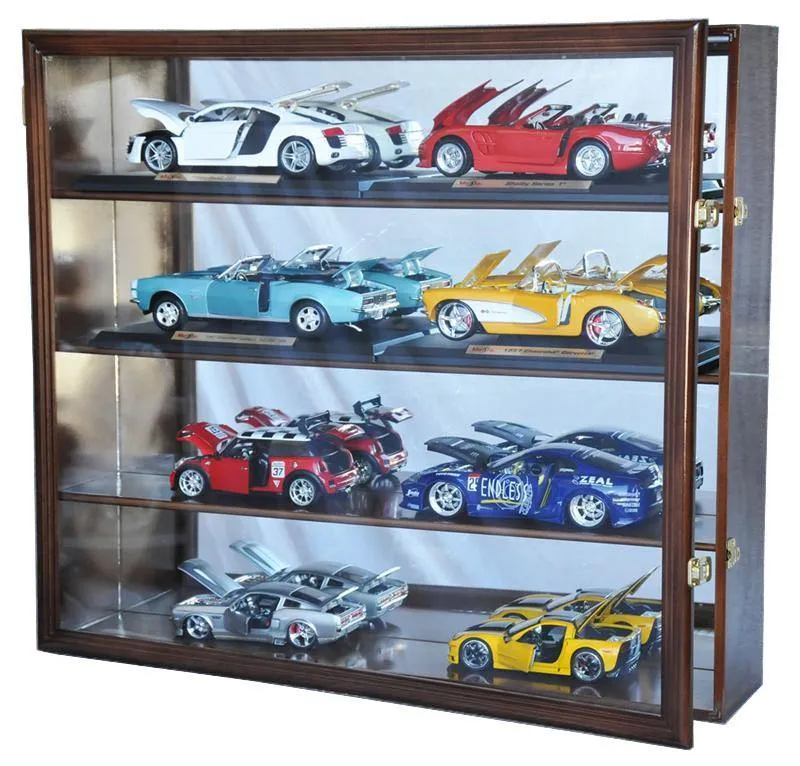
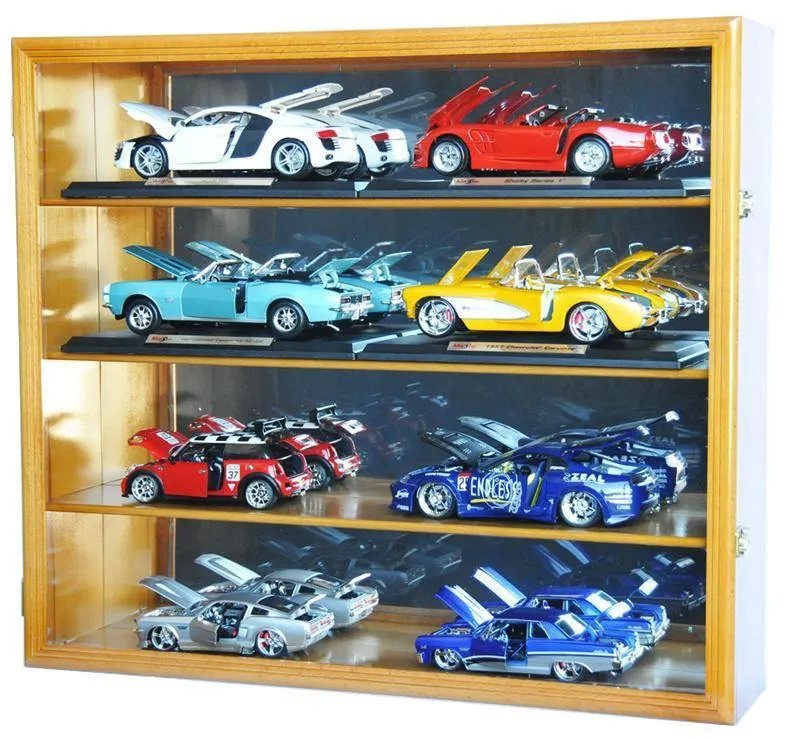
A wall-mounted display case provides a protected environment for your collection while saving valuable floor space. This design typically features a box-like structure with a glass or acrylic front for optimal viewing. This plan is ideal for showcasing a curated collection and offers superior protection from dust and handling. It’s a more involved project than floating shelves, but the added protection and display quality make it worthwhile. This case type ensures your collection is elegantly displayed and shielded from environmental factors. It is an excellent way to show off your collection.
Materials Needed
You’ll need wood for the frame, a clear front panel (glass or acrylic), shelves, hinges, a latch or lock, screws, and adhesive. You’ll also require materials for finishing, such as paint, stain, or varnish. Ensure the glass or acrylic panel is the correct size and thickness. Consider the type of hinges and latch that will suit your design. Select materials that match the style of your collection. These materials create the foundational elements for a secure and visually appealing wall-mounted display case. Remember to use suitable adhesives for bonding different materials together.
Construction Steps
Cut the wood pieces for the frame according to your plan. Assemble the frame using screws and adhesive. Install the shelves inside the frame, ensuring they are level. Attach the clear front panel to the frame using hinges. Install a latch or lock to secure the front panel. Finish the frame with paint, stain, or varnish. Ensure all joints are secure and the front panel opens and closes smoothly. Seal the case to protect against dust and moisture. A well-constructed wall-mounted display case will not only protect your models but also add an elegant touch to your space.
Diecast Display Case Plans Design 3 Glass-Top Display
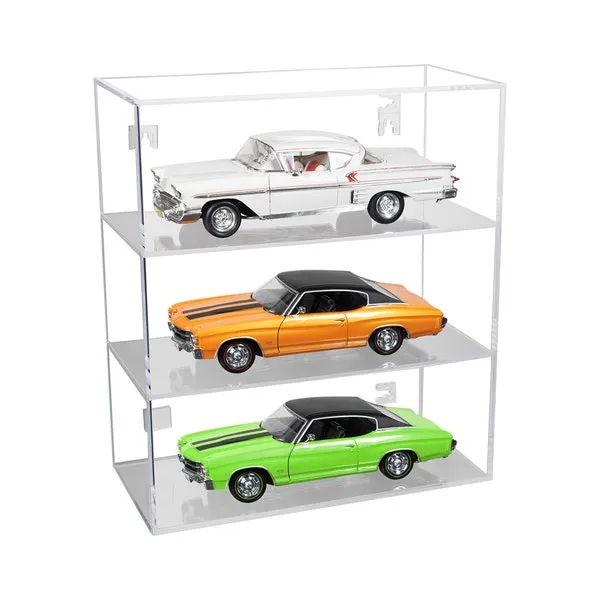
A glass-top display case combines functionality with elegance, allowing you to showcase your models while providing easy access. This design features a wooden base with a glass top, offering a clear view of the collection. It is perfect for displaying models that you frequently handle or rotate. This design provides both visual appeal and convenient access. This design makes it a practical and attractive option. It also provides an excellent means to admire and share your collection with others.
Materials Needed
For the glass-top display, you’ll need wood for the base and sides, a glass top, felt or other lining material, hinges, a latch, screws, and adhesive. Ensure the glass top is the correct size and thickness, as it will bear the weight of the models. Consider the type of hinges and latch that will complement your design. Select materials that will provide a stable and appealing base. These materials combine to create a striking display case. Felt or other lining is included to create a soft surface.
Construction Steps
Cut the wood pieces for the base and sides. Assemble the base and sides using screws and adhesive. Line the interior of the base with felt or other lining material. Attach the hinges to the base and the glass top. Install a latch to secure the glass top. Finish the wooden base with paint, stain, or varnish. Ensure the glass top fits snugly and opens smoothly. The glass-top display provides an unobstructed view of your collection. The image above shows the end product of this design.
Diecast Display Case Plans Design 4 Multi-Tier Display
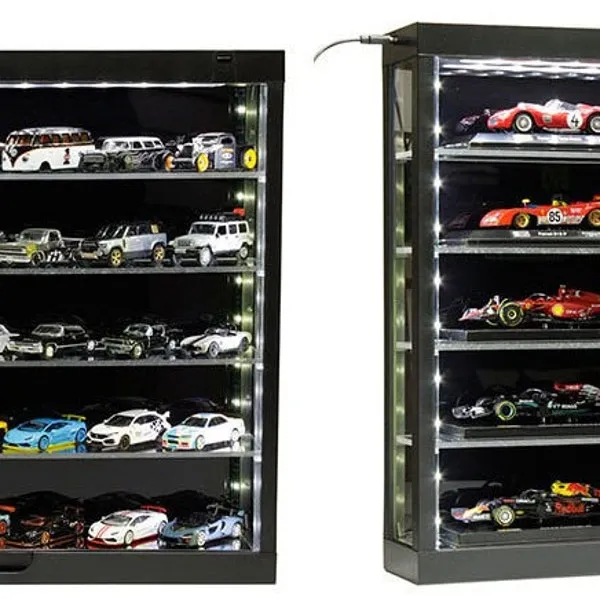
Multi-tier displays maximize space and enhance the presentation of your diecast models. These cases feature multiple shelves, allowing you to showcase a large collection in a compact area. This design is perfect for collectors with a substantial number of models. Multi-tier designs optimize vertical space and significantly boost the visual appeal of your collection. It is an excellent option for collectors who have a large number of models.
Materials Needed
You’ll need wood for the frame, shelves, clear panels (glass or acrylic), shelf supports, screws, and adhesive. You’ll also need materials for finishing, such as paint, stain, or varnish. Ensure you have enough clear panels to cover the sides, front, and top of the case. The type of shelf supports chosen will affect the overall look. Choose materials that will support the weight of your collection. Ensure these materials will create a sturdy and stylish multi-tier display. The materials provide everything you need to build a showcase.
Construction Steps
Cut the wood pieces for the frame, shelves, and clear panels according to your plan. Assemble the frame using screws and adhesive. Install the shelf supports and shelves. Attach the clear panels to the frame using appropriate methods. Finish the frame with paint, stain, or varnish. Make sure the shelves are evenly spaced and can support the weight of your models. Check that the clear panels are securely attached to the frame. The multi-tier display case offers a spectacular view of your collection. This also maximizes the available space for display.
Diecast Display Case Plans Design 5 Custom Display Case
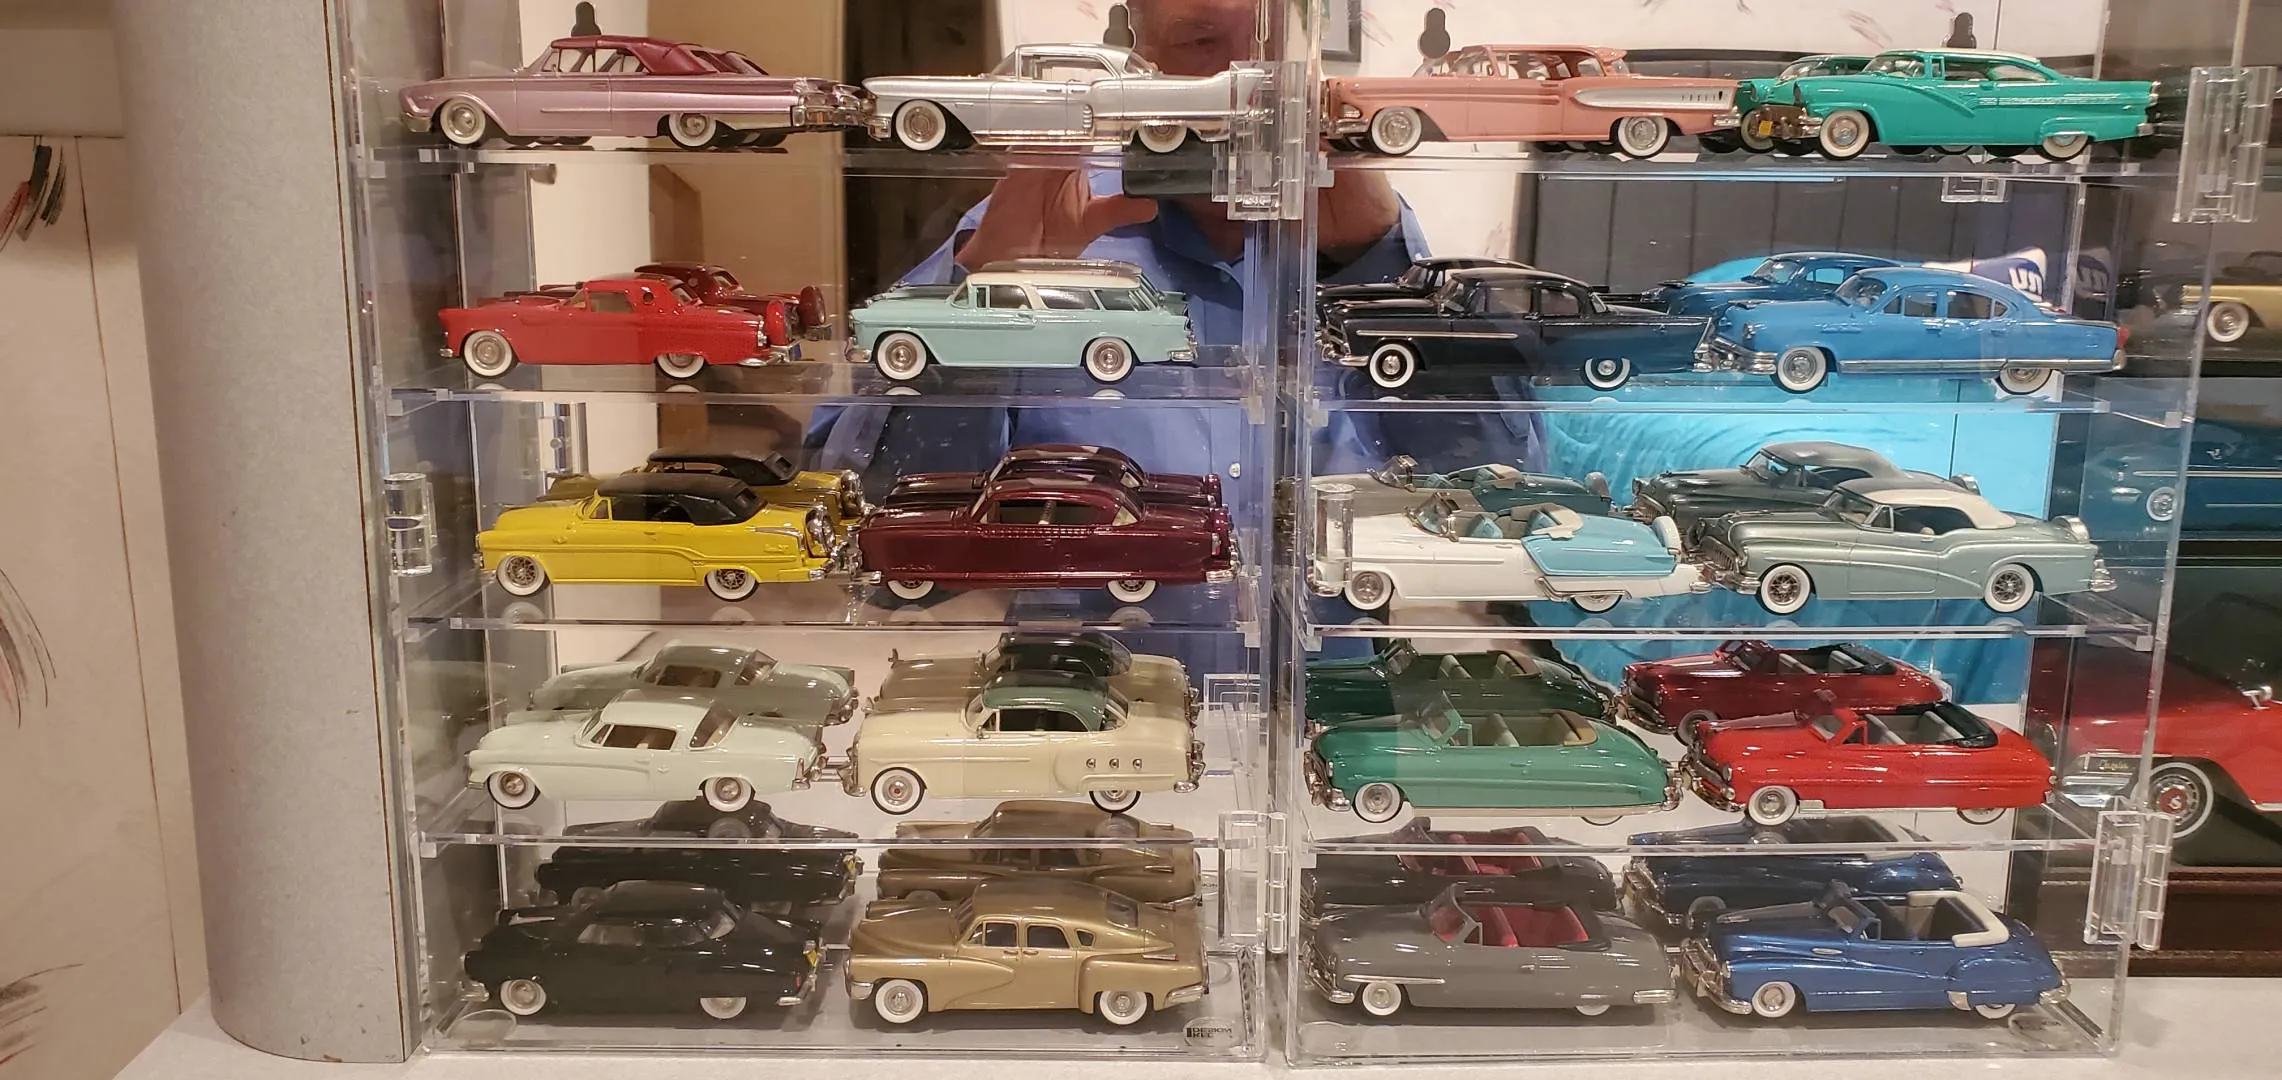
A custom display case lets you create a unique and personalized display that perfectly suits your collection and space. This design gives you full creative control over every aspect of the case, from the materials used to the layout and design. This is the perfect plan if you have specific needs or want to create a truly one-of-a-kind display. This also allows you to integrate your display case seamlessly into your existing decor. Custom display cases are a testament to your personal style and passion for diecast models.
Materials Needed
The materials needed for a custom display case depend entirely on your design. You might need wood, acrylic, glass, metal, or a combination of materials. Consider the overall style and theme of your collection when selecting materials. Factor in any lighting, special features, or display elements. Ensure you have all the necessary tools and hardware to work with your chosen materials. Detailed planning is crucial for a successful custom project. The materials are used to fit your ideal design, and the sky is the limit.
Construction Steps
Construction steps for a custom display case will vary widely depending on your design. Follow your detailed plans, making sure to take accurate measurements and cuts. Assemble the case structure, install shelves, and add any special features. Finish the case with paint, stain, or any decorative elements. Ensure all components are securely attached and aligned correctly. A custom display case showcases your creativity and allows you to display your diecast collection in a unique way. The final result is a testament to your creative vision, perfectly tailored to showcase your valuable models.
Tips for Displaying Your Collection
Once your display case is built, consider these tips to make your diecast models look their best. Arrange your models by scale, make, or theme. Use lighting to highlight specific models or create a dramatic effect. Keep your models dust-free with regular cleaning. Consider adding backdrops or other decorative elements to enhance the display. Regularly rotate your display to keep things fresh and interesting. Using these tips, you can further elevate the visual appeal of your collection. Proper display techniques will make your collection even more enjoyable to admire and share.
Building a diecast display case is a rewarding project that allows you to create a personalized showcase for your collection. With careful planning and execution, you can build a case that protects and enhances your models, making them a focal point of your space. From floating shelves to custom designs, this guide has offered five excellent plans to get you started. So, select your favorite plan, gather your materials, and start building. Enjoy the process and the satisfaction of displaying your diecast models with pride. Building these cases is a good opportunity to improve your DIY skills.
